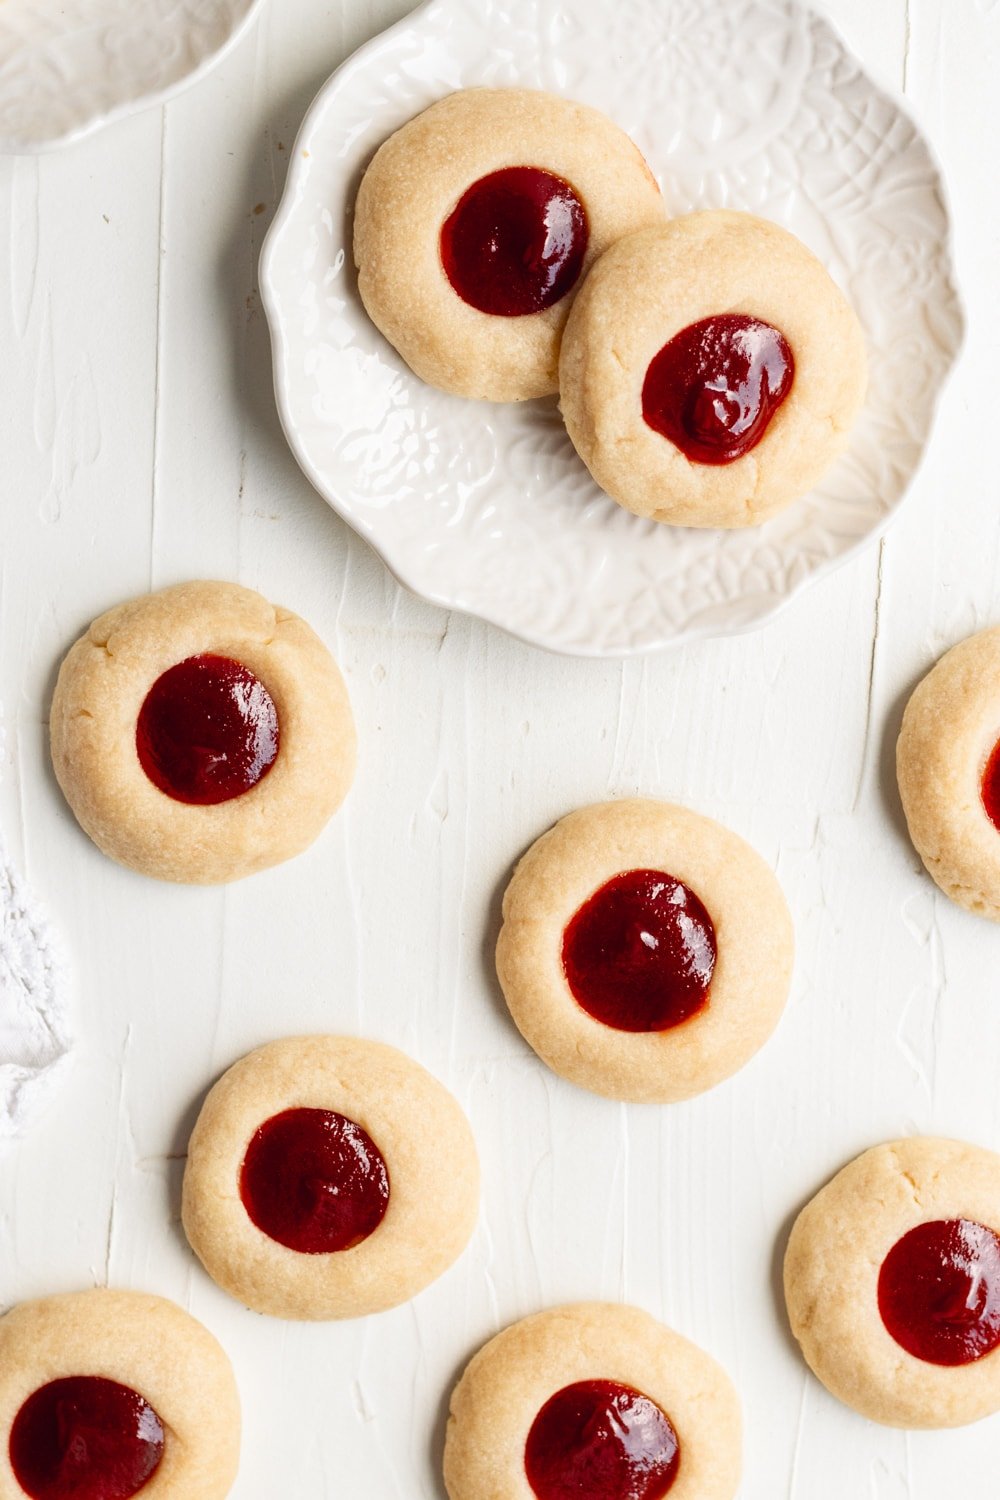
Torticas de Guayaba (Guava Jam Thumbprint Cookies)
I grew up eating guava everything. Guava pastelitos, Cuban crackers with guava jam, straight-up guava paste cut into little rectangles. But these guava shortbread cookies? They have a soft spot in my heart (just like my torticas de morón).
These thumbprint cookies are buttery, soft, and filled with gooey guava jam right in the center. Just 6 ingredients and about 30 minutes is all you need.
If you’ve never baked with guava before, why not start with this torticas de guayaba recipe?! These are going to be dangerously good. Let me show you how to make them!
5-star review
“These cookies were excellent! They are unique and fancy enough to take to a potluck which I did. I used guava paste (hard like cheese) so diluted it with lime juice and water as suggested. Very easy to make!”
—Yuri
Recommended For This Recipe
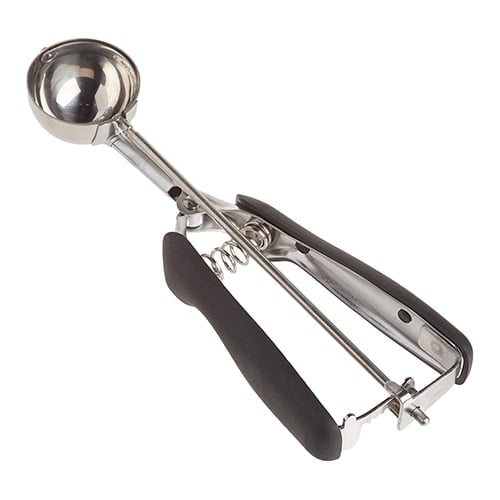
Cookie Scoop
The easiest way to get perfectly uniform cookies! It’s also dishwasher safe, making clean up a breeze.
How To Make Guava Shortbread Cookies
If your ingredients aren’t at room temperature, these cookies might spread more than you want. I’ve found that softened butter (not melted) makes the dough hold its shape better. It also mixes way easier.
Before you start, I recommend setting everything out so it’s all at room temp. It makes a difference in both texture and how well the dough comes together.
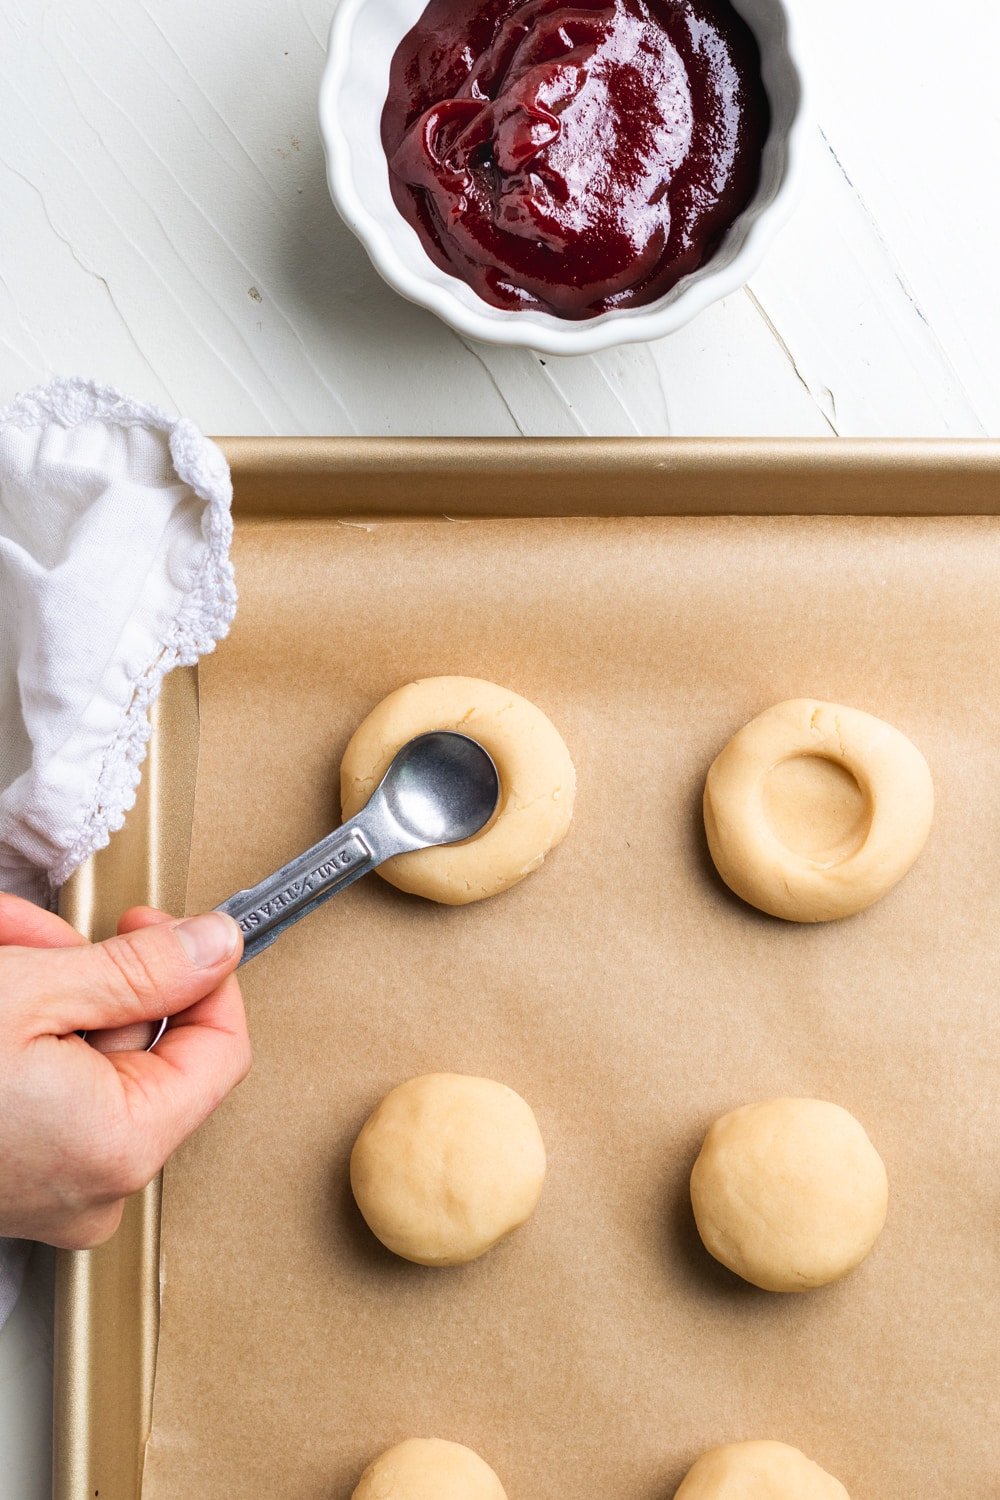
Also, instead of using your thumb to press into the dough balls, I like using the back of a teaspoon. It gives more of an even indentation without cracking the cookies as they bake.
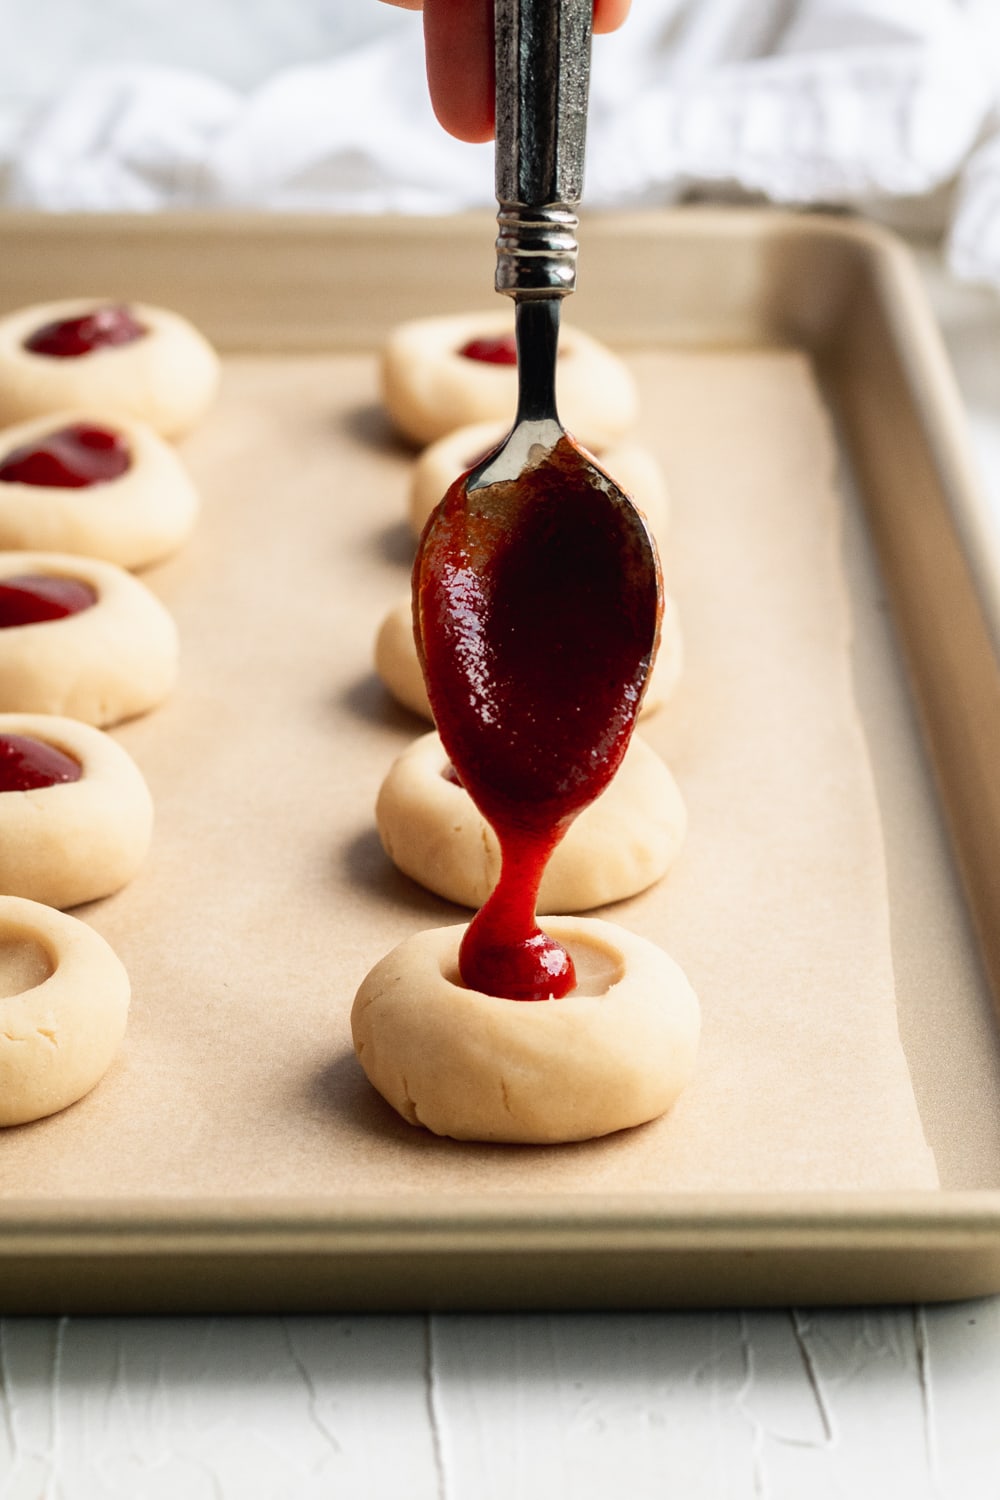
And one last thing… warm up the guava jam a little before you fill the cookies. Just a few seconds in the microwave helps and makes it easier to spoon into the centers.
I hope you love these cookies as much as I do. They’re sweet, simple, and full of that guava flavor. It’s one of my favorite sweet guava recipes! I can never get enough of it. Whether you’re baking them for the holidays or just because, they’ll disappear fast, so maybe go ahead and make a double batch.

Torticas de Guayaba (Guava Jam Thumbprint Cookies)
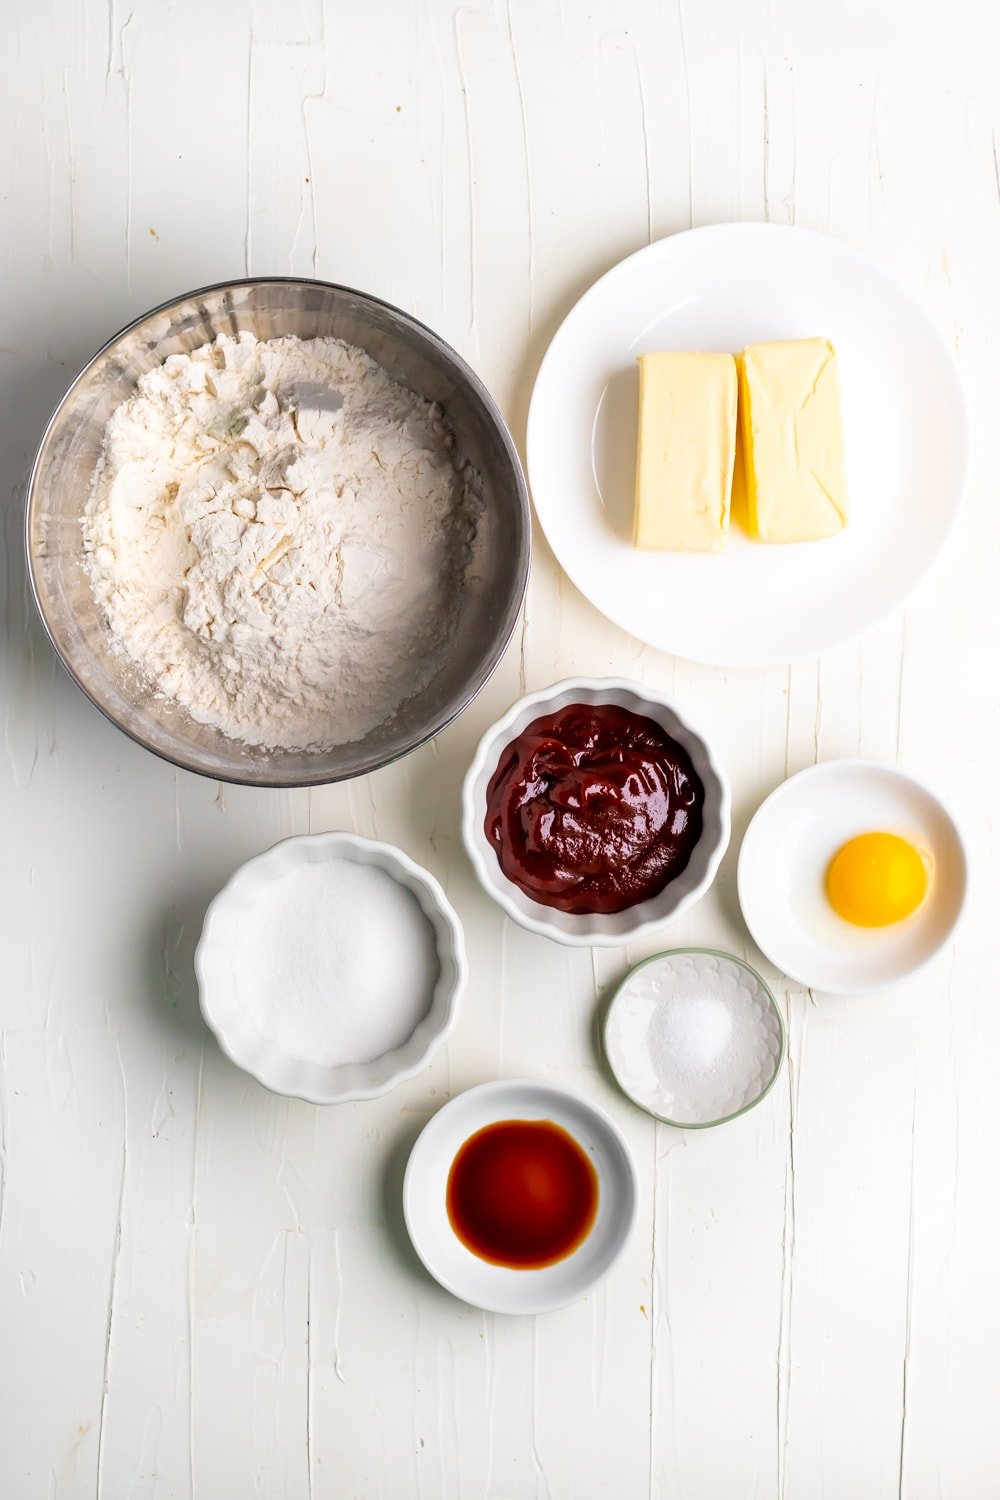
Ingredients
- 1 cup unsalted butter, room temperature
- 1/2 cup granulated sugar
- 1 large egg yolk, room temperature
- 1 teaspoon vanilla extract
- 1/4 teaspoon salt
- 2 cups all-purpose flour
- 1/2 cup guava jam, (or guava preserves)
Instructions
- Preheat the oven to 350°F. Line a baking sheet with parchment paper. Set aside.
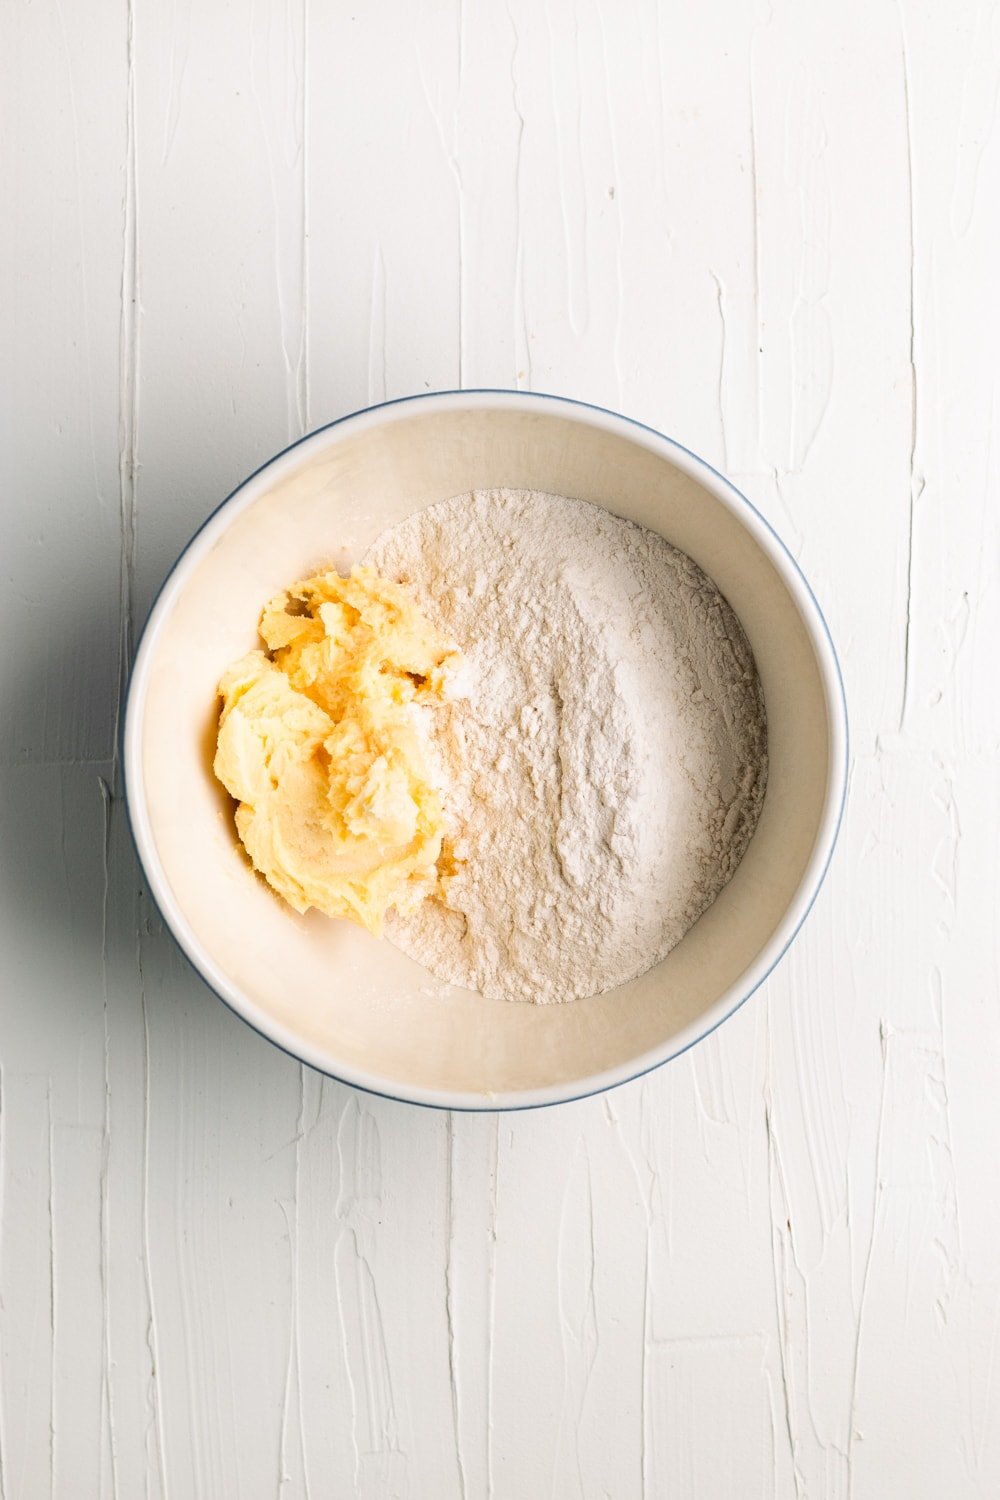
- In a stand mixer or in a large bowl using a handheld mixer, cream the butter and sugar together until combined then add the egg yolk, vanilla extract, and salt until smooth. Slowly add the flour and mix until no longer crumbly.
- Using a tablespoon or medium cookie scoop, roll the dough into balls then place on the baking sheet.
- Gently and carefully make an indentation into each ball of cookie dough using the back of a teaspoon. Be careful not to press all the way through.
- Chill the cookie dough balls for 1 hour in the fridge. This will solidify the ingredients and to prevent them from spreading or cracking while baking. This is key!
- Remove the baking sheet from the fridge and spoon 1/2 teaspoon of the guava jam into the indentation in each one. Using room temperature jam will make it easier to add the jam into each cookie.
- Bake for 10-12 minutes or until the cookies are slightly golden brown. These cookies can burn quickly so keep an eye on them!
- Remove from the oven and let them cool for 10 minutes. The jam filling may be hot so be careful. Serve and enjoy!
The shortbread is fantastic. It’s light and fluffy but not dry. I baked the Mae cookies as cookie cups instead but definitely will try again using the original baking method.
So happy you loved it, Graphista!
Delicious cookies. I made them as per your recipe. Tomorrow, I’m playing canasta with Cuban friends from my preteen years. They will undoubtedly love these cookies. Thank you so much for helping us continue with our Cuban heritage through your authentic recipes!
You’re so welcome, Idi! It’s truly an honor!
Would it be possible to add white chocolate chips to this recipe?
Hi! I’ve never done that so I’m not sure how it will turn out.
Does bleached flour work as substitute or must it be unbleached?
Yes, you can use regular flour too. :)
These cookies were excellent! They are unique and fancy enough to take to a potluck which I did. I used guava paste (hard like cheese) so diluted it with lime juice and water as suggested. Very easy to make!
Thank you so much! So happy you enjoyed it!
Thank you for sharing.
A friend just handed me a jar of guava jam.
Dont know where to use it.
Im not a fan of spreading it on a bread.
Asked google and found your yummy blog.
Wanna try it this evening.
Yay! Let me know how it turns out! :)