

 By Type
 By Course
 By Ingredients
 By Occasion
A Sassy Spoon
Cuban + Latin-inspired recipes for home cooks


Recipe Index
 By Type
By Course
By Ingredients
By Occasion
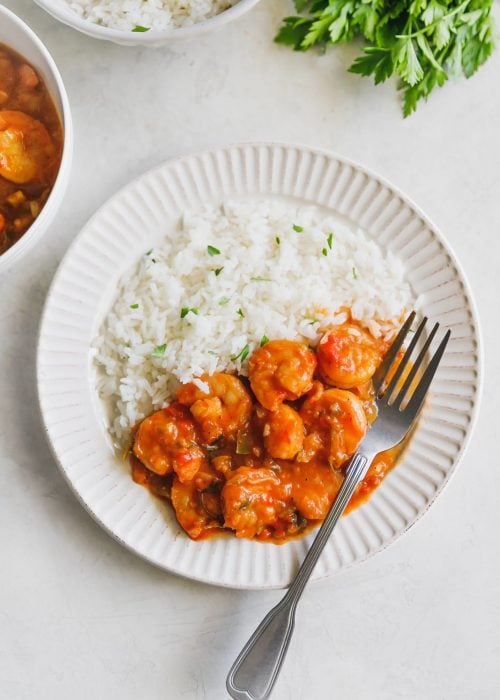
Dinners
Camarones Enchilados (Cuban Shrimp Creole)
Behind The Spoon
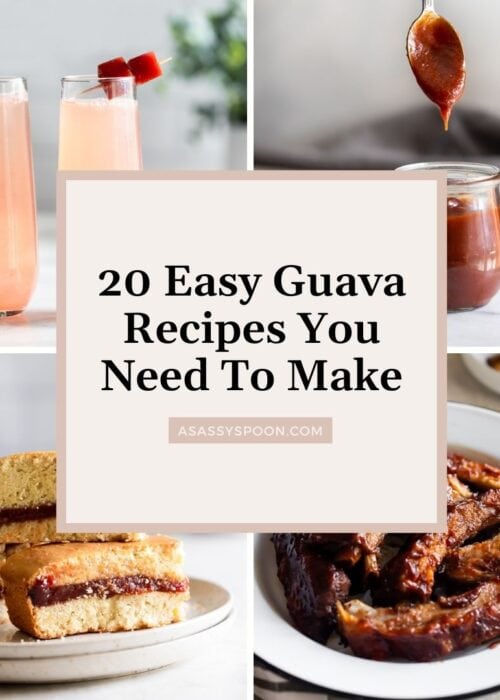
20 Easy Guava Recipes You Need To Make
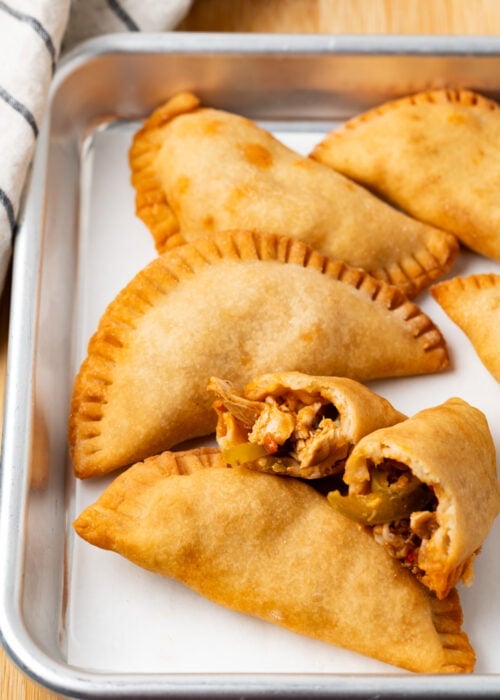
Appetizers
Authentic Cuban Chicken Empanadas
Dinners
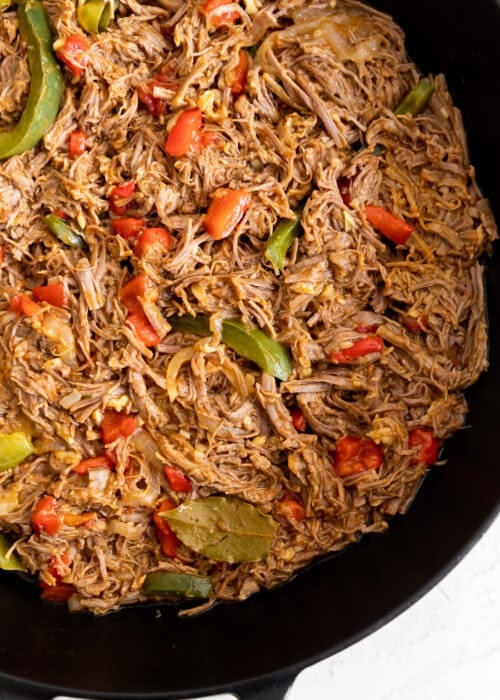
Authentic Cuban Ropa Vieja (Shredded Beef Recipe)

Side Dishes
15-Minute Pan-Fried Sweet Plantains (Maduros)

Dips + Sauces
Authentic Cuban Mojo Criollo (Mojo Marinade)
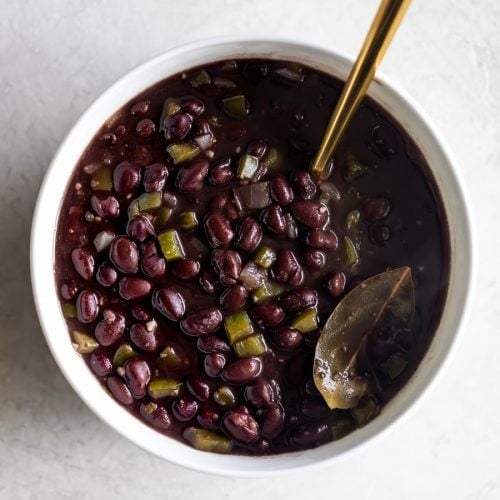
Soup + Stews
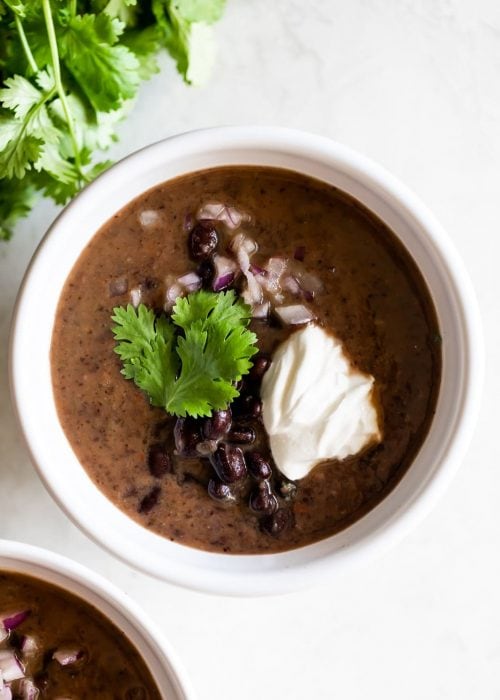
Cuban Black Bean Soup (Sopa de Frijol Negro)
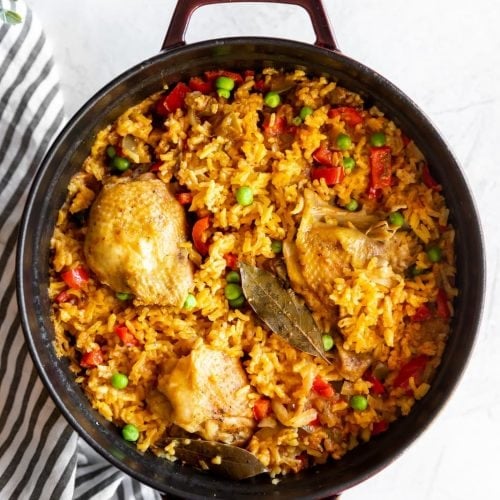
Dinners
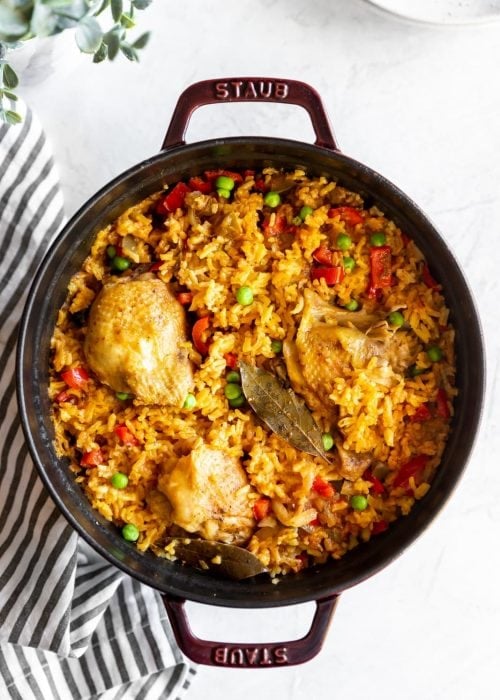
Cuban Arroz Con Pollo (Cuban Chicken & Rice)
Side Dishes
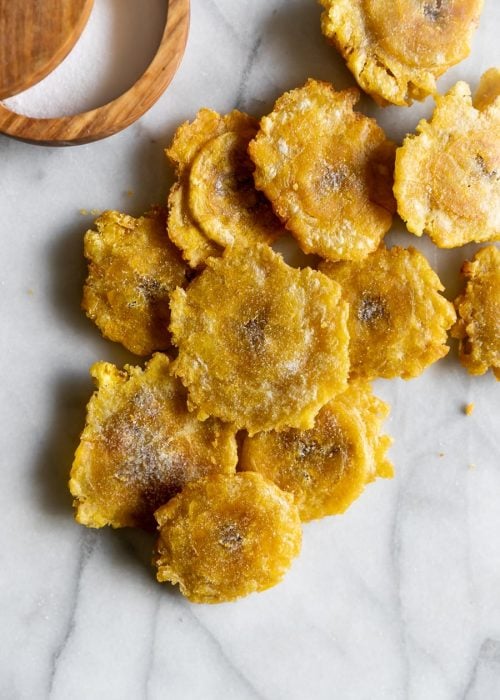
Authentic Cuban Tostones (Twice-Fried Plantains)

Desserts
Brazo Gitano de Guayaba (Guava Swiss Roll)